Welcome home DIY enthusiast! If you're new to DIY, or Do It Yourself projects, you might be wondering where to start. No worries, that's what we're here for! As a homeowner or renter, tackling small projects around the house can not only be incredibly rewarding, but can also save you a nice chunk of change. Plus, with each project you finish, you'll add another handy skill to your toolbox. We take you through a plethora of easy peasy projects to jumpstart your journey into DIY.
1. Creating a Raised Garden Bed
One of the most rewarding DIY projects for beginners is creating a raised garden bed. Not only does this activity get you out in the fresh air, it also offers a tangible result that you can enjoy for seasons to come! But why go for a raised garden bed, you may wonder? Well, glad you asked!
Benefits of Raised Garden Beds
Both your plants and you benefit immensely from raised garden beds. Let's take a look at some of these benefits:
- A better, well-drained planting medium for plants.
- Convenient for the gardener as it involves less bending and strain.
- Enhancement of garden aesthetics. A well-crafted bed can add pizzazz to your garden!
- Needs less maintenance compared to traditional gardening.
- Prevents soil compaction and allows for better root development.
DIY Garden Bed Designs and Material Options
Pondering over which materials to use and what design to follow? Here goes:
- Wood: Cost effective, less durable and easy to work but requires regular maintenance.
- Bricks: Long-lasting, attractive but more expensive, and difficult to install.
- Concrete blocks: Durable, affordable but heavy, and potentially alkaline.

Tips for Proper Soil Mix and Plant Selection
Now, having your garden bed in place, what should you fill it with and which plants should you select?
- For the perfect soil mix, aim for equal parts of top soil, compost, and aeration additions such as pumice or perlite. Or opt for a pre-mixed raised bed soil from your local garden center.
- Choose plants according to the sunlight that your bed location receives. Most vegetables and flowers need full sun, but there are plenty of shade-loving plants if your garden bed is in a less sunny spot.
- Consider companion planting techniques to enhance yield, manage pests, and boost plant health. For instance, planting basil with tomatoes supposedly improves the latter's flavour!
Remember, the key to success in any DIY project is preparation and patience. Take your time in setting up your garden bed, make sure it's filled with nutritious soil, plant with care - and then sit back, relax, and await the flourishing results!
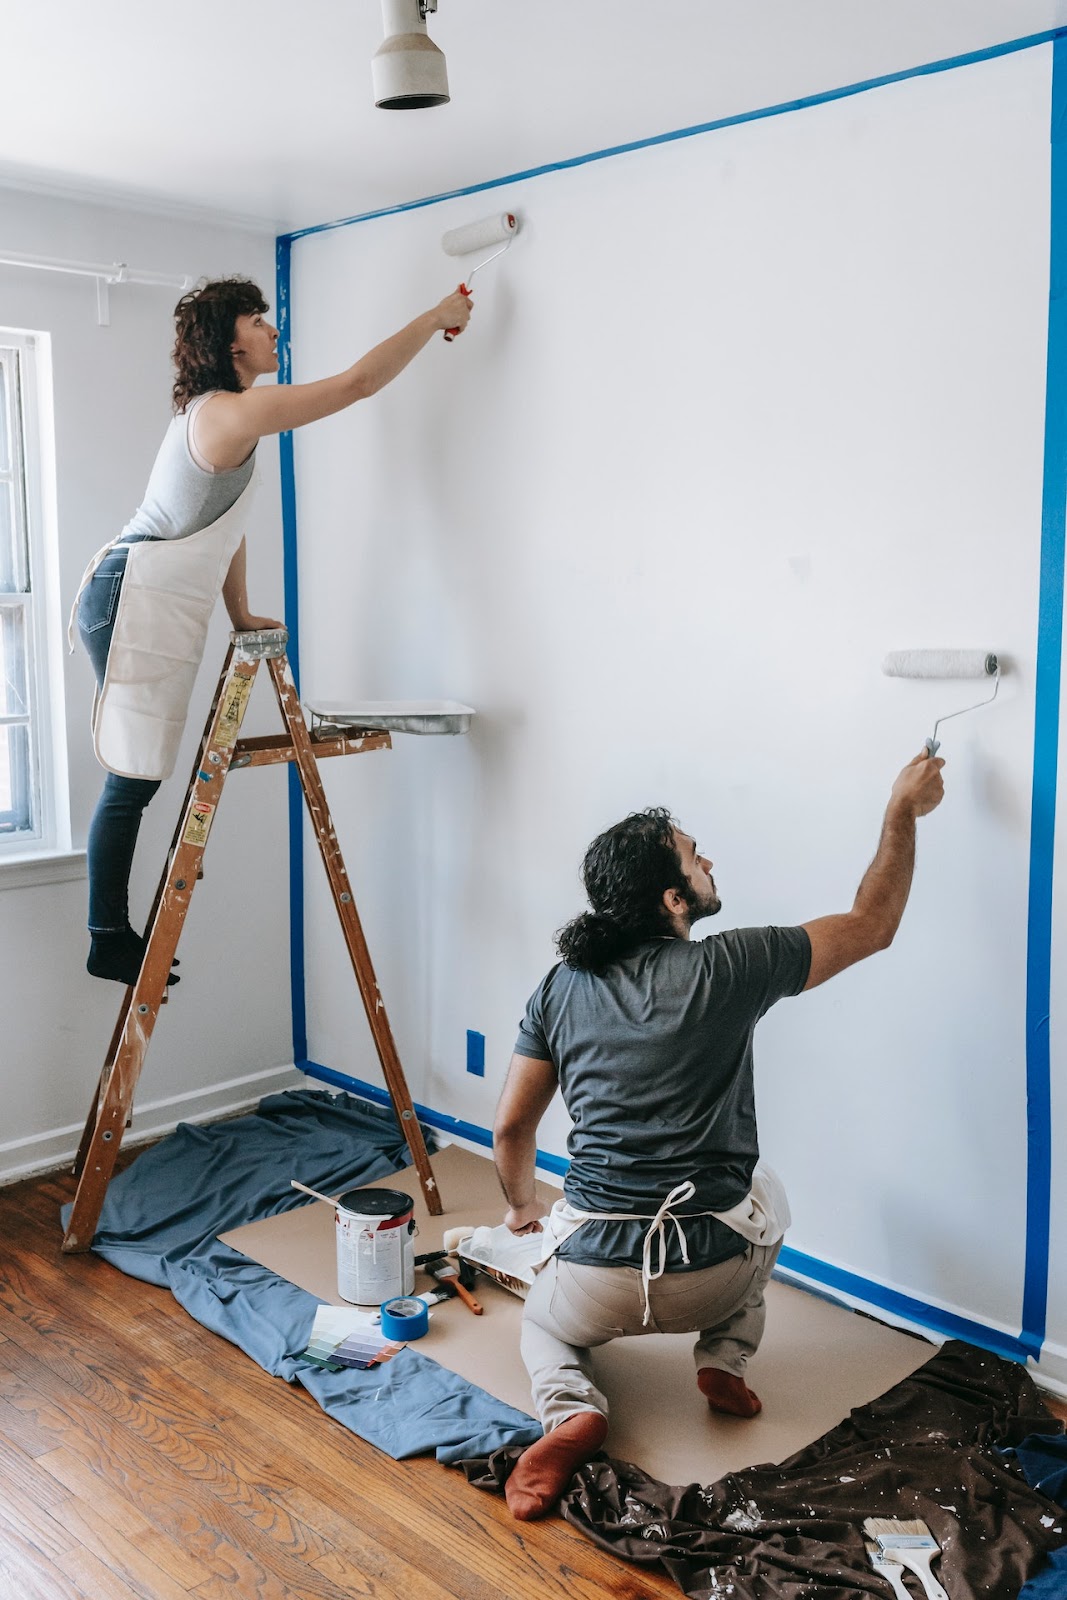
2. Painting a Room
No need to shy away from taking on a huge painting job, start with one room and build confidence from there. It's a rewarding project that can transform your living space with minimal effort.
Selecting the Right Colour and Type of Paint
Choosing the perfect colour can be overwhelming, but a simple rule to follow is to choose a colour that complements your existing furniture and decor. If you're still unsure, ask for sample paint pots and test a small area on your wall. When it comes to the type of paint, look for one that fits your room's use. Kitchens and bathrooms do well with a strong, wipe-able paint while bedrooms and living rooms can wear a delicate, matte finish.
 Importance of Preparation
Ever heard the saying, "Failing to plan is planning to fail?" Well, that's especially true in painting. Making sure your surfaces are clean and ready to receive the paint is equal, if not more important than the painting itself.
- Cleaning surfaces: Make sure you dust and wipe down your walls with a damp cloth for a dirt-free smooth finish.
- Patching holes: Use a filler to close any holes or cracks, and then sand smoothly.
- Sanding: Sanding your walls helps the paint adhere better, giving you a long-lasting finish.
Tips and Best Practices
There's no one way to paint, but there are ways to make your job easier. Here are a few handy tips and tricks to help nail the painting process:
- Brush vs Roller: Rollers are great for large, flat surfaces, while brushes are perfect for smaller areas and edges.
- How to avoid streaks: To avoid streaks, always paint from top to bottom in a smooth, controlled manner.
- Covering furniture: Cover your furniture and floors with drop cloths to protect them from paint splatters.
- Using painter’s tape: Apply painter’s tape along baseboards, trim and ceiling edges for perfect lines.
- Safety precautions: Be sure to ventilate your room well. Paint fumes can be harmful, so open those windows wide!
3. Refinish Old Wood Furniture
Ever walked into an antique store and admired the rustic charm of vintage furniture? What if you could rescue such pieces, sprucing them up to make your home decor touch more personalised? Refinishing old wood furniture is a terrific start on your Do-it-Yourself adventure. Plus, guess who's championing cost savings, sustainability, and customised décor? You got it right, it's you! So how about we dive straight into the nitty-gritty?
Steps for Refinishing Old Furniture
- Assessing the piece: Before you charge ahead, let's take a moment to understand the piece. Look for the extent of damage or wear. Is it merely old paint wearing off, or are there significant damages that might need more professional attention?
- Cleaning and prepping: This involves removing any reminiscence of old paint or varnish. Take your time here and make sure to remove all the old paint and varnish.
- Sanding: Grab your sandpaper, it's time to smooth-en things up. Sanding helps achieve a smooth surface, prepping it for the next stage.
- Staining or painting: Depending on your aesthetic preference, choose a finish that breathes fresh life into the piece. Will a mahogany stain complement your room, or perhaps a tease of turquoise paint?
- Sealing: Seal the deal by protecting the piece with a finish. This should ensure your revamped piece stands the test of time (and toddlers!)

Safety Precautions
Remember, safety comes first! When you're absorbed in your DIY project, it's easy to forget this, so here are a few reminders:
- Always work in a well-ventilated area.
- Don’t forget to wear protective gear such as gloves and safety goggles.
4. Hang Your Own Gallery Wall
Welcome to the world of DIY! Let's kick things off with an easy and rewarding project: curating and hanging your own gallery wall. This project is perfect for beginners as it allows you to personalise your space and showcase cherished memories or exquisite pieces of art. And guess what? It's easier than you might think. Bracing yourself? Don't! Dive right in.
Planning Your Gallery Wall
Before you get started, remember it's all about balance - in sizes, colours, and frames - to ensure your gallery wall is both organized and aesthetically pleasing. Often times, it might seem intimidating. Here's the fun part though: whether you want to display your grandchild's potato print or a canvas masterpiece, there are no rules set in stone! Want a few helpful suggestions to steer your creative thoughts? Well, let's start!
- Balance is key. Mix different sizes and shapes of frames to give your wall a dynamic look.
- Colour coordination. Try to stick to a color scheme that matches your room decor.
- Vintage or modern frames? Choose depending on the rest of your room's stylistic themes.

Steps to Hang Your Gallery Wall
A meticulously planned painting expedition is half the success. Here's a simple step-by-step guide to help you hang your gallery wall like a pro. Don't worry, no prior experience needed!
- Prepping: Create a mock layout on the floor. Play around until it 'feels right'.
- Measuring: Measure twice before putting holes in your wall, keeping in mind the spaces between the frames.
- Hanging: Start in the middle and work your way out. Use the right hangers for the weight of your frames.
Top Tips and Best Practices
To save you from common mishaps and any 'oh no' moments, here's our quick-fire list of top tips.
- Consider using craft paper to create a mock layout on your wall before hanging.
- Always remember the golden rule of DIY: "Measure twice, hang once".
- Ensure that you're using the appropriate hangers for the weight of your frames.
Remember, the best gallery wall is one that reflects your family and tells your unique story. So, don't panic, take your time and enjoy the process.
5. Building a Birdhouse
For a beginner's venture, building a birdhouse is an excellent project that not only pampers our feathered friends but also adds a charming aesthetic to your garden. And the best part? It's simpler than you think!
Design Considerations
When it comes to birdhouse designs, there are several important aspects to consider. Let's break them down:
- Size: The size of the birdhouse is important. It should be spacious enough to accommodate nesting birds, but not too large that it turns into a bird mansion.
- Entrance Hole: This needs to be appropriately sized to allow birds easy access, but not so large as to invite predators.
- Ventilation: Healthy birdhouse designs allow for proper ventilation. This will keep the birds comfortable, especially during the warmer months.
- Drainage: A good birdhouse should have a drainage system to prevent water from ponding in the base during rainy conditions.

Steps to Building Your Birdhouse
Alright, now let's get into the nuts and bolts of building your birdhouse:
- Gathering Materials: The first step is to gather all the necessary materials. These will largely depend on your specific birdhouse design.
- Cutting and Assembling: With your materials at the ready, you can now begin cutting and assembling your birdhouse. Patience is key here.
- Painting or Staining: Once assembled, you can add a pop of colour or a sleek stain to your birdhouse. Always ensure to use non-toxic products for the safety of your avian visitors.
- Mounting in the Right Location: Lastly, be sure to mount your birdhouse in a location that is bird-friendly – somewhere safe, quiet, and attractive to your particular species of bird.
Tips for Success
Remember, DIY is all about learning and improving through trial and error, so don't be disheartened if your first birdhouse isn't perfect. Keep practising, and you'll get there! Furthermore, here are some crucial tips for an enjoyable and fruitful DIY birdhouse building experience:
- Understanding the Preferences of Local Bird Species: Do a bit of research about the local birds. What size and type of birdhouse do they prefer? Do they prefer sun or shade?
- Regular Maintenance: Just like your home, birdhouses need regular maintenance. Cleaning and repairs will ensure your birdhouse stays in tip-top shape.
- Prevent Pests: It's important to ensure pesky pests can't get to your bird feeder. Simple strategies can include location choice and adding protective elements to your design.
So, are you ready to roll up your sleeves and build your first birdhouse?
6. Building a Bench
Firstly, this is an excellent project for beginners because a bench represents versatility in design and utility. It can be a simple, rustic seat for the garden, a lavish accent for your living room, or a storage solution with built-in compartments. The possibilities are only limited by your imagination, and ours is pretty big!
Material Selection: A Key to DIY Success
Before we start sawing and hammering away, we need to understand our materials. The most common material we’ll be using is wood. Now, wood comes in different types and finishes, each with their own beautiful quirks and strengths. Want a rustic looking bench? Go for a knotted Pine. Need something outdoorsy? How about a weather-resistant Cedar?
And let's not forget about fasteners. You primarily have two options: nails or screws. Screws might require a bit more effort, but they give far sturdier results. Aren't you glad you've me here?

Let's Get Building!
- Measuring and Cutting the Wood: Remember the old saying, measure twice, cut once? Here's where it comes into play. Using a measuring tape and a saw, mark and cut the wood to the required sizes.
- Assembling the Pieces: Line up the pieces and fasten them together using either nails or screws. Don't forget your safety goggles!
- Sanding and Finishing: Create a smooth finish on your bench by sanding down any rough edges. After that, you can apply a finish of your choice to seal and protect the wood.
If you feel a little adventurous, consider adding a cushion to your bench for extra comfort, or create storage compartments underneath the seat for additional functionality.
By incorporating diverse projects, beginners can gain confidence and skills across various DIY domains. Before you know it, you'll be managing more complex projects and maybe even teaching your friends a thing or two. But remember, every DIY master was once a beginner too. Don't stress over mistakes - they are not failures but stepping stones towards your DIY mastery. Happy creating!